

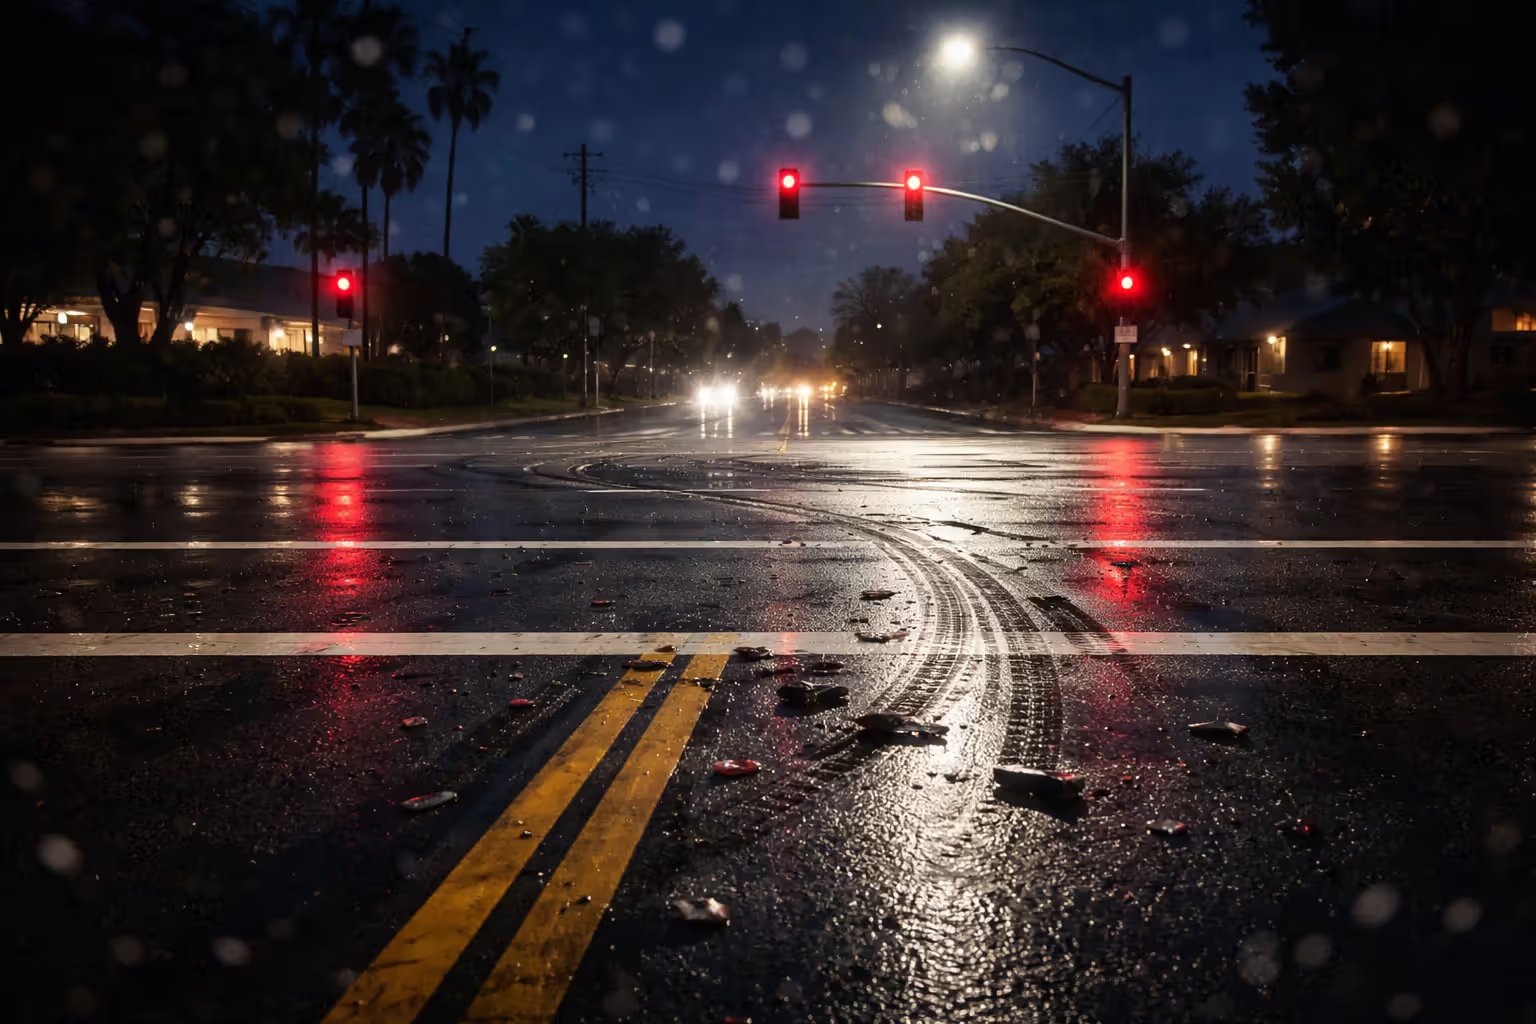
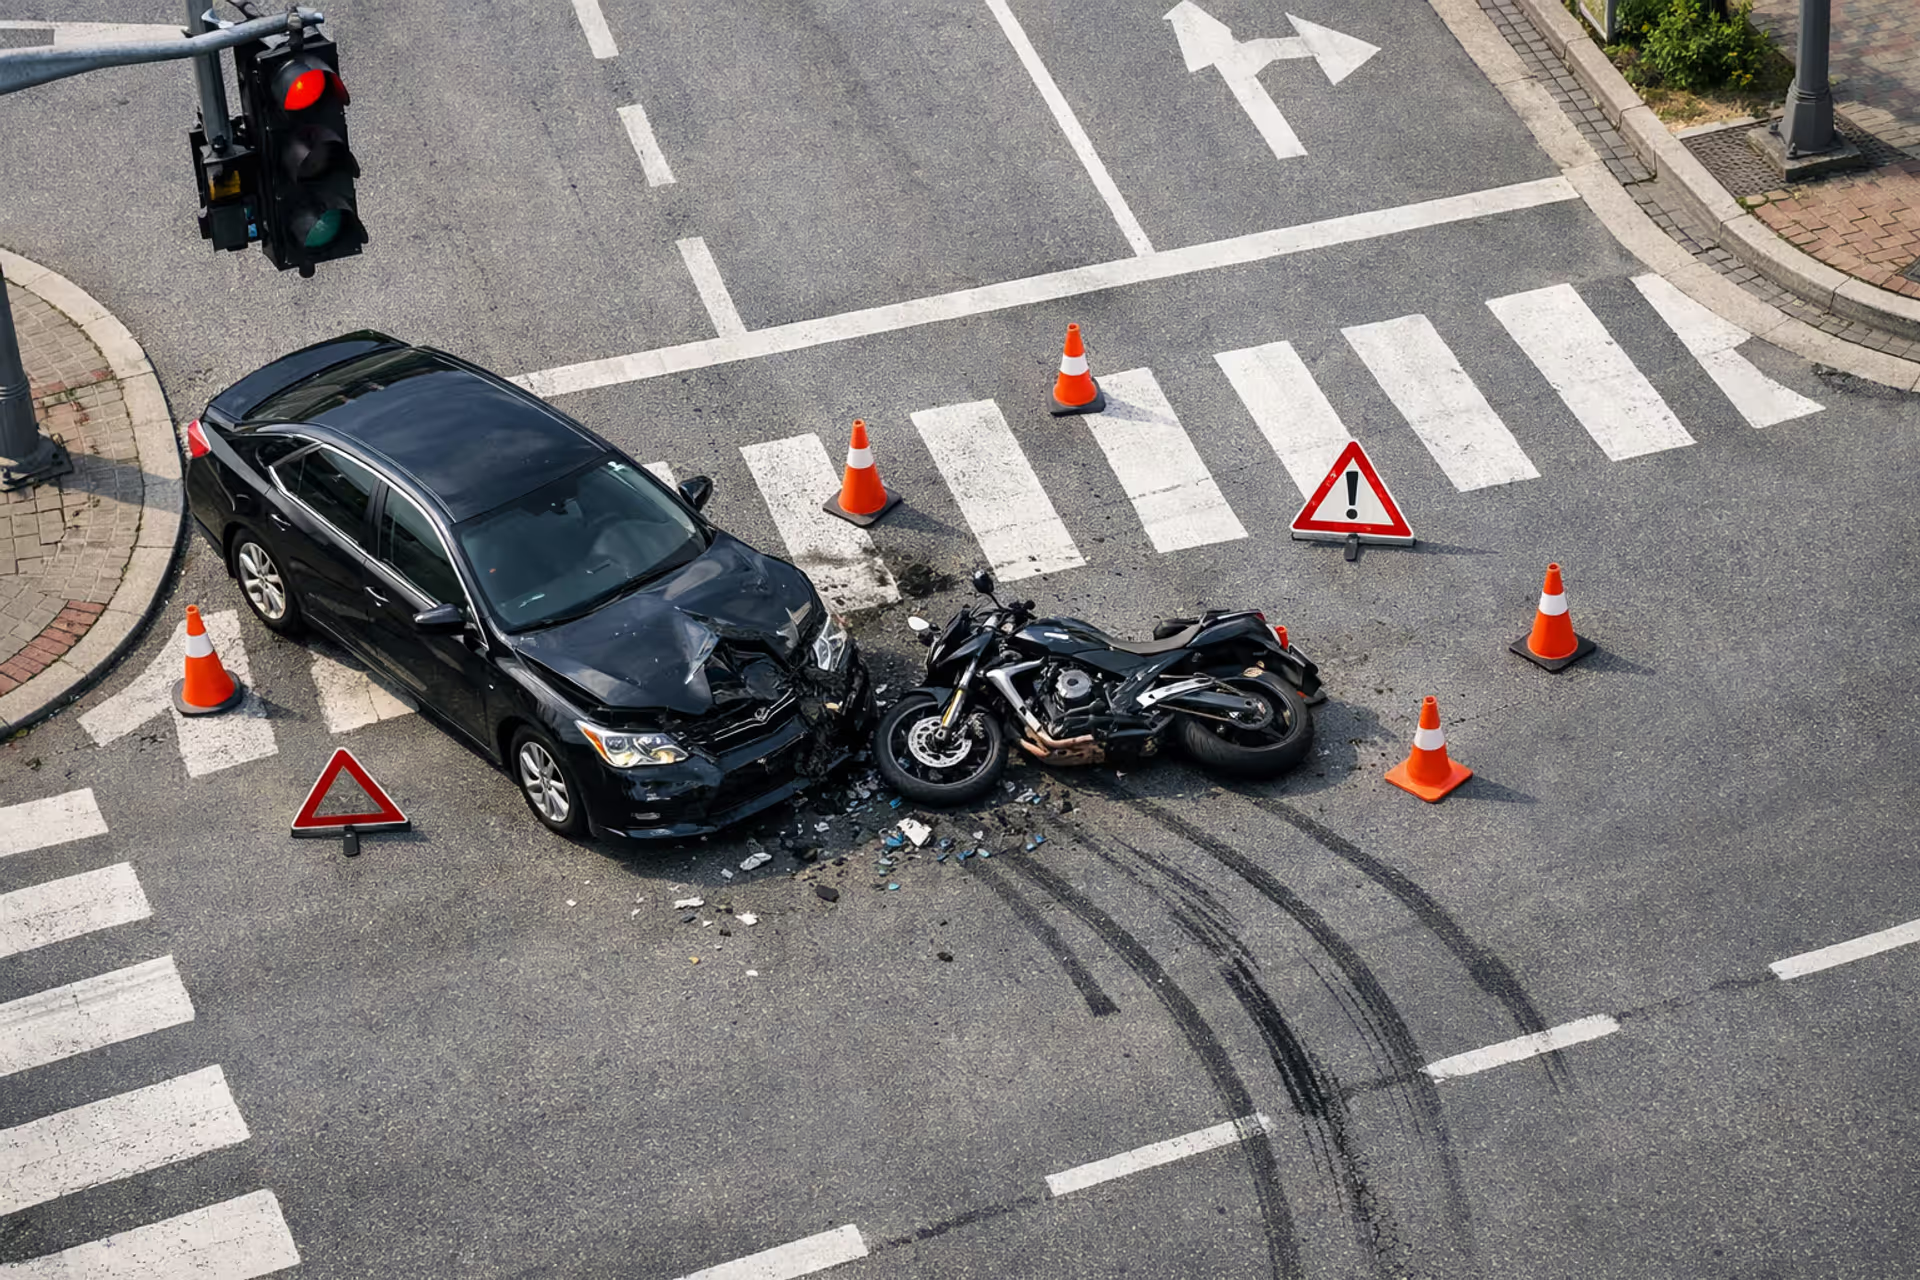
Motorcycle accident scene at urban intersection with rider using smartphone to photograph crashed bike and damaged car
How to Use Motorcycle Accident Photos as Evidence After a Crash

The seconds after a motorcycle crash feel chaotic. Your hands shake, adrenaline surges, and you're trying to assess whether you're injured. But what you do with your phone's camera in those first minutes can determine whether you receive $5,000 or $50,000 in your settlement—or whether your claim gets denied entirely.
Photographic evidence isn't just helpful documentation; it's often the single factor that separates successful claims from rejected ones. Insurance adjusters weren't at your crash scene. They rely almost exclusively on visual proof to reconstruct what happened, assign fault, and calculate damages. Without comprehensive photos, you're asking them to trust your memory against another driver's contradictory account.
This guide walks through exactly what to photograph, how to capture images that hold up under scrutiny, and how to organize evidence in ways that insurance companies and courts accept. You'll learn the technical requirements that preserve your photos' legal validity and the common mistakes that can invalidate otherwise strong evidence.
Why Photographic Evidence Makes or Breaks Motorcycle Accident Claims
A 2019 Insurance Research Council study found that claimants who submitted photographic documentation received settlements averaging 3.2 times higher than those who relied solely on written statements. The gap widens further in disputed liability cases, where photos can mean the difference between a full payout and complete claim denial.
Insurance adjusters handle hundreds of claims monthly. They spend an average of 12 minutes on initial file reviews. During that brief window, clear photos showing vehicle damage, road conditions, and injury severity create immediate credibility. Adjusters can verify your account matches physical evidence, calculate repair costs from damage patterns, and assess liability without lengthy investigations.
Courts treat photographs as tangible evidence rather than testimony. Unlike witness statements that can be challenged as biased or mistaken, properly authenticated photos carry substantial evidentiary weight. Judges allow them into evidence under the "pictorial testimony" doctrine—they speak for themselves about conditions at the scene.
The legal standard centers on three factors: relevance (does the photo prove a material fact?), authenticity (was it taken at the actual scene?), and accuracy (does it fairly represent what it claims to show?). Meeting these standards requires specific documentation practices, but the bar isn't impossibly high. Even smartphone photos taken immediately after a crash typically satisfy all three requirements.
Motorcycle crashes present unique documentation challenges. Unlike car accidents where occupants remain protected inside vehicles, motorcycle riders often sustain injuries that worsen rapidly or become more visible over subsequent days. Damage to bikes can appear minimal externally while frame or engine components suffer catastrophic failure. Photos must capture these specific vulnerabilities to counter insurance company assumptions that "minor-looking" crashes produce minor injuries.

Author: Ryan Whitlock;
Source: spy-delhi.com
What to Photograph Immediately After a Motorcycle Crash
Your photo checklist should follow a systematic pattern, moving from wide establishing shots to specific details. Start with broad context images showing the entire intersection or road segment, then progressively zoom into critical elements. This sequence helps adjusters and attorneys understand spatial relationships and recreate the collision.
Vehicle and Impact Documentation
Begin with all vehicles in their post-crash positions before anyone moves them. Capture at least four angles of each vehicle: front, rear, and both sides. These positioning photos establish where vehicles ended up relative to lane markings, curbs, and traffic controls.
Photograph every point of impact and damage area on your motorcycle. Get close-ups showing paint transfers, scratches, dents, and broken components. Include shots of your odometer, VIN plate, and license plate. If your bike landed on its side, photograph scrapes on mirrors, handlebars, and engine cases—these indicate the bike's trajectory during impact.
Author: Ryan Whitlock;
Source: spy-delhi.com
Document the other vehicle's damage with equal thoroughness. Insurance companies compare damage patterns between vehicles to verify impact stories. A driver claiming you rear-ended them can't explain away front-end damage to their car if your motorcycle shows rear-wheel impact damage.
Capture your helmet, jacket, gloves, and any other protective gear. Photograph scuffs, tears, or cracks—these demonstrate impact severity and can support injury claims. A cracked helmet proves head impact even if you don't immediately feel concussion symptoms.
Road and Environmental Factors
Road conditions often determine liability in motorcycle crashes. Photograph the road surface within 20 feet of the impact point in all directions. Capture potholes, gravel, oil slicks, water puddles, or debris that may have contributed to loss of control.
Document skid marks, gouge marks, and debris fields. Measure and photograph the length of any skid marks using a reference object (a dollar bill is 6 inches long). Debris patterns show impact force and vehicle trajectories—scattered motorcycle parts trace your bike's path after collision.
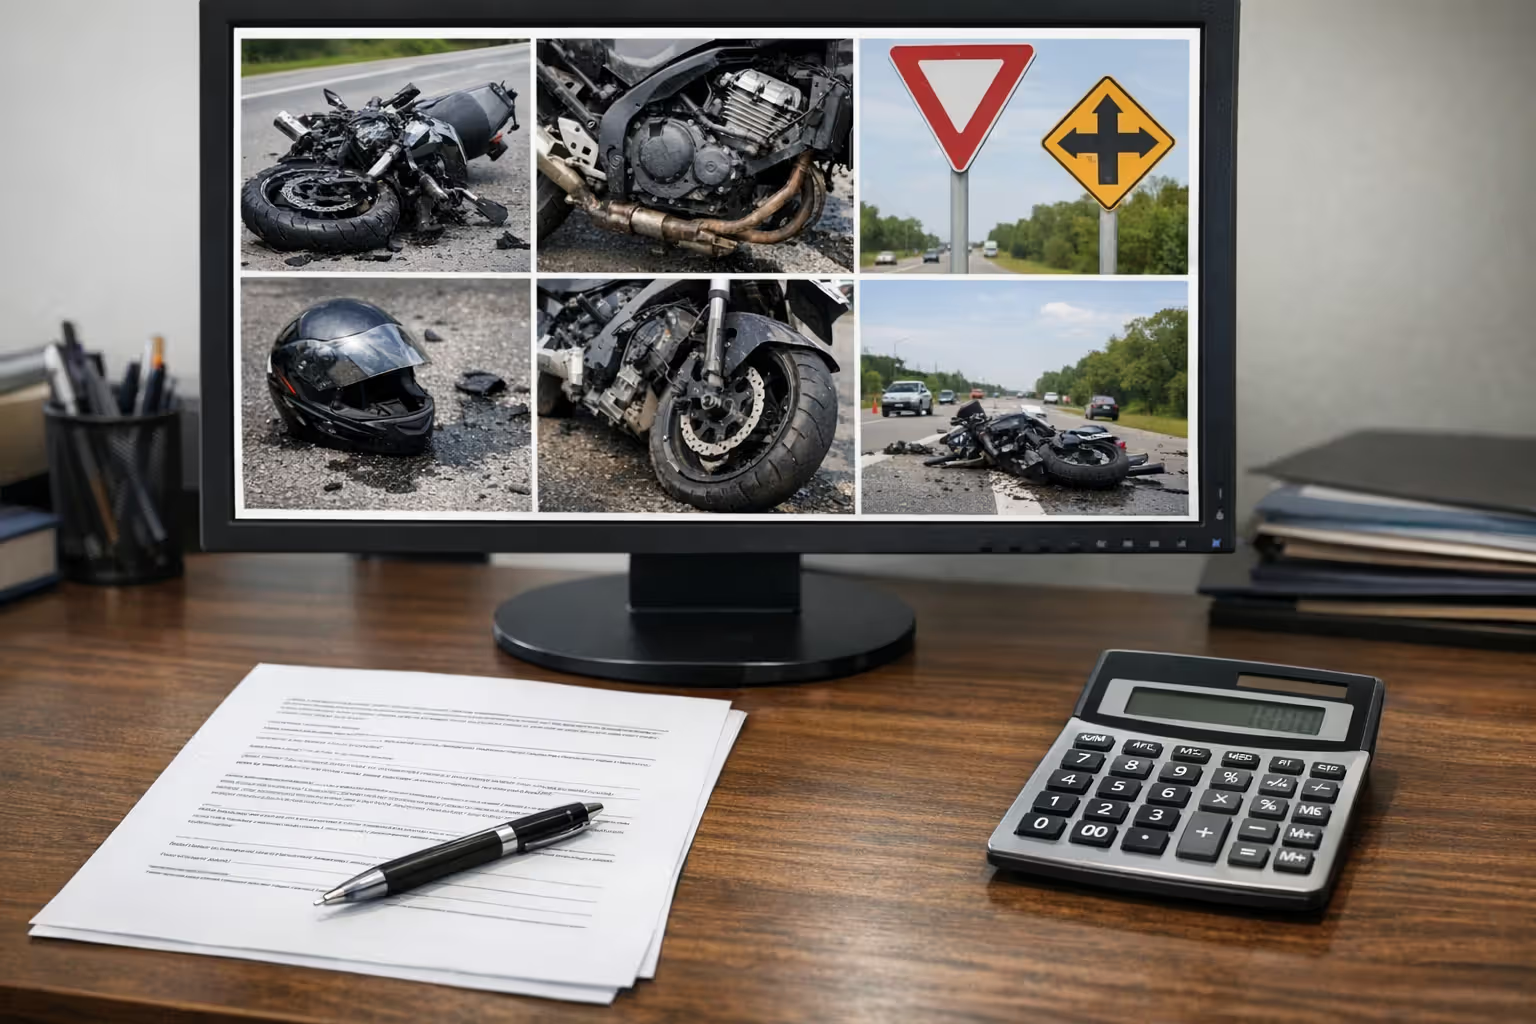
Photograph all traffic control devices visible from the crash location: stop signs, yield signs, traffic lights, lane markings, speed limit signs, and warning signs. Include shots showing their condition and visibility. A sun-faded stop sign partially obscured by tree branches supports a failure-to-yield defense.
Take photos showing sight lines from each driver's approach. Stand where each vehicle would have been 3-5 seconds before impact and photograph what that driver could see. Blind corners, visual obstructions, and sun glare become evident in these perspective shots.
Document weather and lighting conditions. If the crash occurred at dusk, dawn, or night, photograph how street lighting illuminates the area. Overcast skies, rain, or fog should be visible in your images. Many smartphones embed timestamp and location data, but visible environmental conditions corroborate your account.
Injury and Personal Protective Equipment
Photograph visible injuries immediately, even minor ones. Bruises, road rash, swelling, and bleeding often worsen over hours or days, but insurance companies question injuries that appear only in later photos. Initial documentation establishes a baseline.
Remove damaged clothing carefully and photograph tears, blood stains, or embedded debris before cleaning up. These images demonstrate impact severity and injury mechanisms. A torn jacket with asphalt embedded in the shoulder proves you slid across pavement.
If injuries aren't immediately visible but you feel pain, photograph those body areas anyway. Soft tissue injuries, internal bleeding, and fractures may not show external signs initially, but documenting the area creates a visual timeline when bruising or swelling appears later.
Take follow-up photos daily for the first week, then weekly until injuries heal. This progression documents your recovery and supports pain and suffering claims. Insurance adjusters need to see that your "minor bruising" actually covered your entire thigh and took six weeks to resolve.
Camera Settings and Techniques That Preserve Evidence Quality
Modern smartphones capture sufficient resolution for evidence purposes—typically 12 megapixels or higher. Avoid using digital zoom, which degrades image quality. Instead, move closer to your subject. If you can't safely approach, take the distant shot and note in your documentation that access was limited.
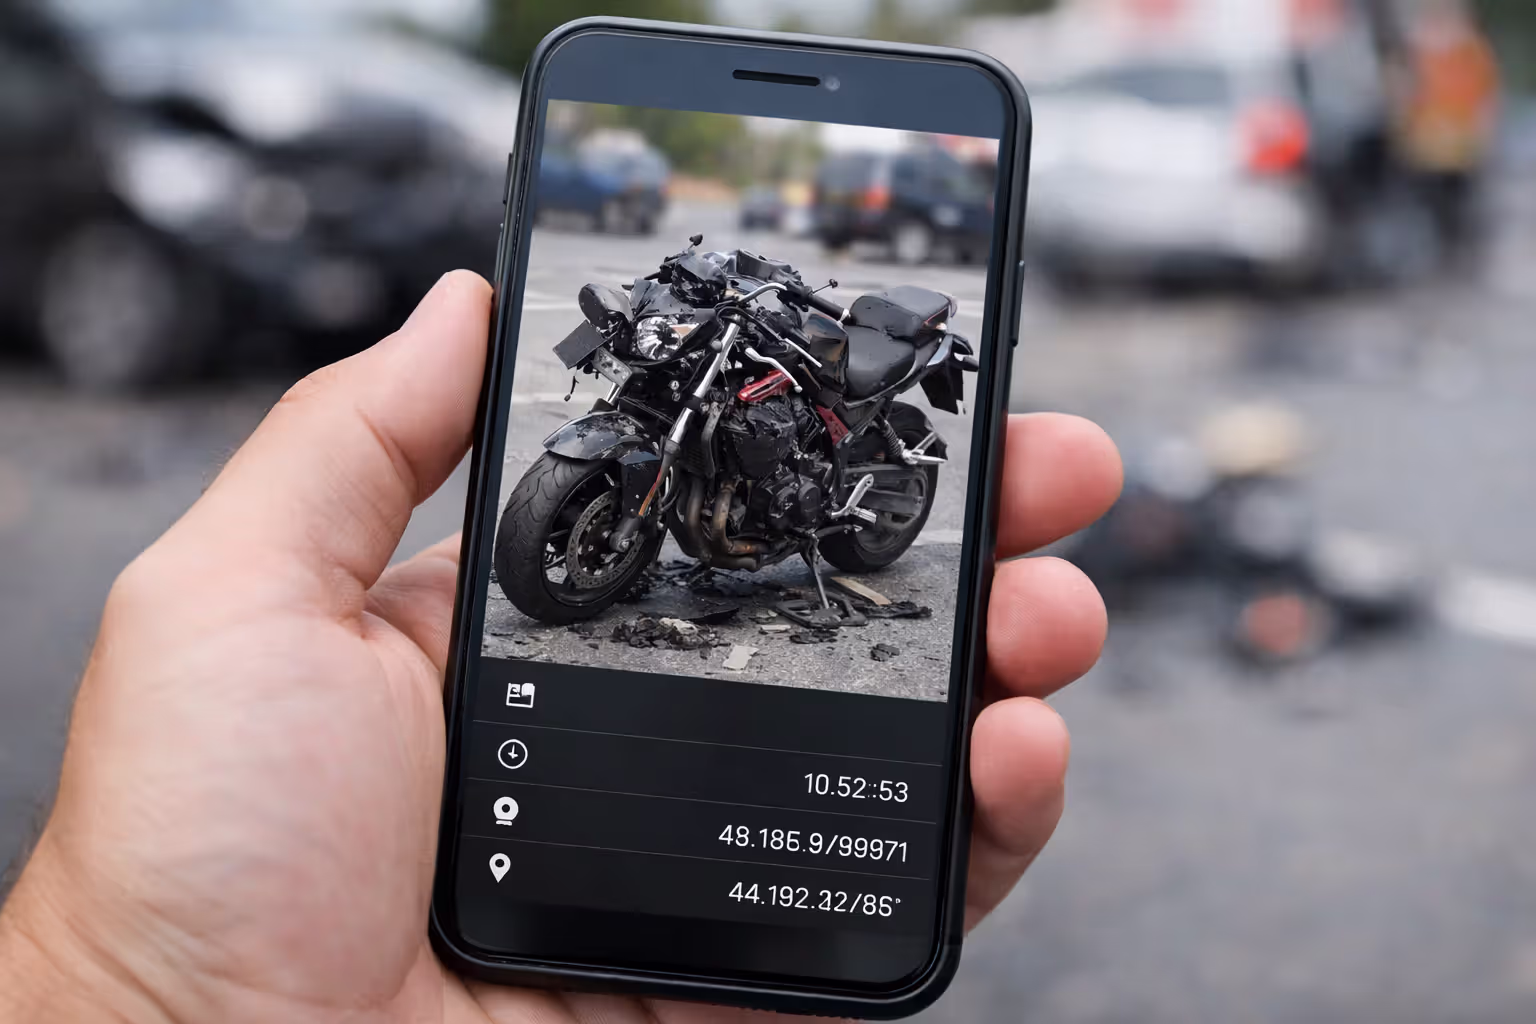
Enable location services and ensure your phone's date and time are correct. This metadata (EXIF data) embeds GPS coordinates and timestamps into each photo file, proving when and where you took the image. Insurance companies and courts can verify this data hasn't been altered.
Shoot in good lighting whenever possible. If the crash occurred at night, use your phone's flash for close-ups but also take some shots without flash showing ambient lighting conditions. Both perspectives matter—flash reveals damage details while no-flash images show what drivers could actually see.
Author: Ryan Whitlock;
Source: spy-delhi.com
Take multiple shots of each subject from slightly different angles and distances. Storage is cheap; missing a critical detail isn't. Photograph each damage area with at least one wide shot showing context and one close-up revealing specific damage.
Include scale references in photos of smaller details. Place a common object (coin, pen, key) next to cracks, scratches, or debris. This helps adjusters gauge size and severity from photos alone.
Avoid filters, editing, or cropping before submitting evidence. Insurance companies and opposing attorneys scrutinize metadata for signs of manipulation. Even innocent cropping to improve composition can be portrayed as evidence tampering. Submit original, unaltered files.
Hold your phone steady and ensure focus before shooting. Blurry photos lose evidentiary value because they're open to interpretation. Take a moment to tap your screen to set focus, then hold still while capturing the image.
Shoot in landscape (horizontal) orientation for scene-wide shots and portrait (vertical) for tall objects like traffic signals or vehicle side damage. This maximizes image quality by using your camera sensor's full resolution.
How Insurance Companies Evaluate Motorcycle Crash Scene Photos
Adjusters follow systematic protocols when reviewing accident photos. They first verify the images actually depict the claimed crash—checking timestamps, locations, and whether damage patterns match the reported collision type. Inconsistencies trigger fraud investigations.
Next, they assess liability by analyzing vehicle positions, traffic controls, and road conditions. An adjuster examining your photos asks: Which driver violated traffic laws? Who had right-of-way? Could either driver have avoided the collision? Your photos must answer these questions before the adjuster forms contrary assumptions.
Damage severity analysis follows. Adjusters compare your motorcycle's damage to typical patterns for similar crashes. They calculate repair costs from visible damage and determine whether the bike is repairable or totaled. Comprehensive photos showing all damage areas prevent adjusters from underestimating repair costs based on incomplete information.
For injury claims, adjusters correlate visible injuries with reported medical treatment. They question expensive emergency room visits if photos show only minor scrapes. Conversely, dramatic injury photos support claims for significant medical expenses and pain and suffering.
Adjusters specifically look for evidence of comparative negligence—factors suggesting you share fault. Were you speeding? Did you fail to wear proper gear? Were you in the correct lane? Photos showing your helmet was worn, your bike was in its lane, and road conditions were hazardous shift liability away from you.
Red flags that trigger claim denials include timing inconsistencies (photos taken days after the crash showing suspiciously clean conditions), damage patterns inconsistent with the reported collision (front-end damage when you claimed a rear-end collision), or missing documentation of claimed injuries or property damage.
Insurance companies also evaluate whether photos reveal policy violations. Evidence of racing, stunt riding, or riding under the influence can void coverage entirely. Be aware that your photos might work against you if they inadvertently capture problematic details.
Author: Ryan Whitlock;
Source: spy-delhi.com
Organizing and Submitting Your Accident Photo Evidence
Create a systematic filing structure immediately after the crash. Use folders labeled by category: "Vehicle Positions," "Motorcycle Damage," "Other Vehicle Damage," "Road Conditions," "Traffic Controls," "Injuries," and "Protective Gear." This organization helps you verify you've documented all necessary elements.
Rename files descriptively before submission. Instead of "IMG_2847.jpg," use "2024-01-15_Crash_Motorcycle_Right_Side_Damage.jpg." Include the date, subject, and specific angle. This naming convention helps adjusters quickly locate relevant images in large evidence files.
Back up all photos immediately to cloud storage (Google Drive, Dropbox, iCloud) and to a separate physical device. Phones get damaged, lost, or stolen. Losing your only copy of crash photos can devastate your claim. Multiple backups ensure evidence preservation.
Create a photo log document listing each image with a brief written description. Note what each photo shows, when you took it, and any relevant context. This narrative guide helps adjusters understand what they're viewing and demonstrates your thoroughness.
Preserve original files in their native format. Don't convert images to different file types or compress them to save space. Original files contain metadata that proves authenticity. Submit copies for routine correspondence but maintain originals for potential litigation.
When submitting photos to insurance companies, ask about their preferred format. Most accept email attachments for initial submissions, but large files may require file-sharing services or physical media (USB drive, CD). Follow their specifications to avoid processing delays.
Maintain chain of custody documentation. Record when you took photos, when you backed them up, and when you submitted them to insurance companies or attorneys. This timeline proves you didn't alter evidence after the fact.
Never delete original photos, even after your claim settles. Keep them for at least seven years—the statute of limitations for most injury claims. Latent injuries or complications may require reopening your case.
Common Mistakes That Invalidate Motorcycle Accident Photographs
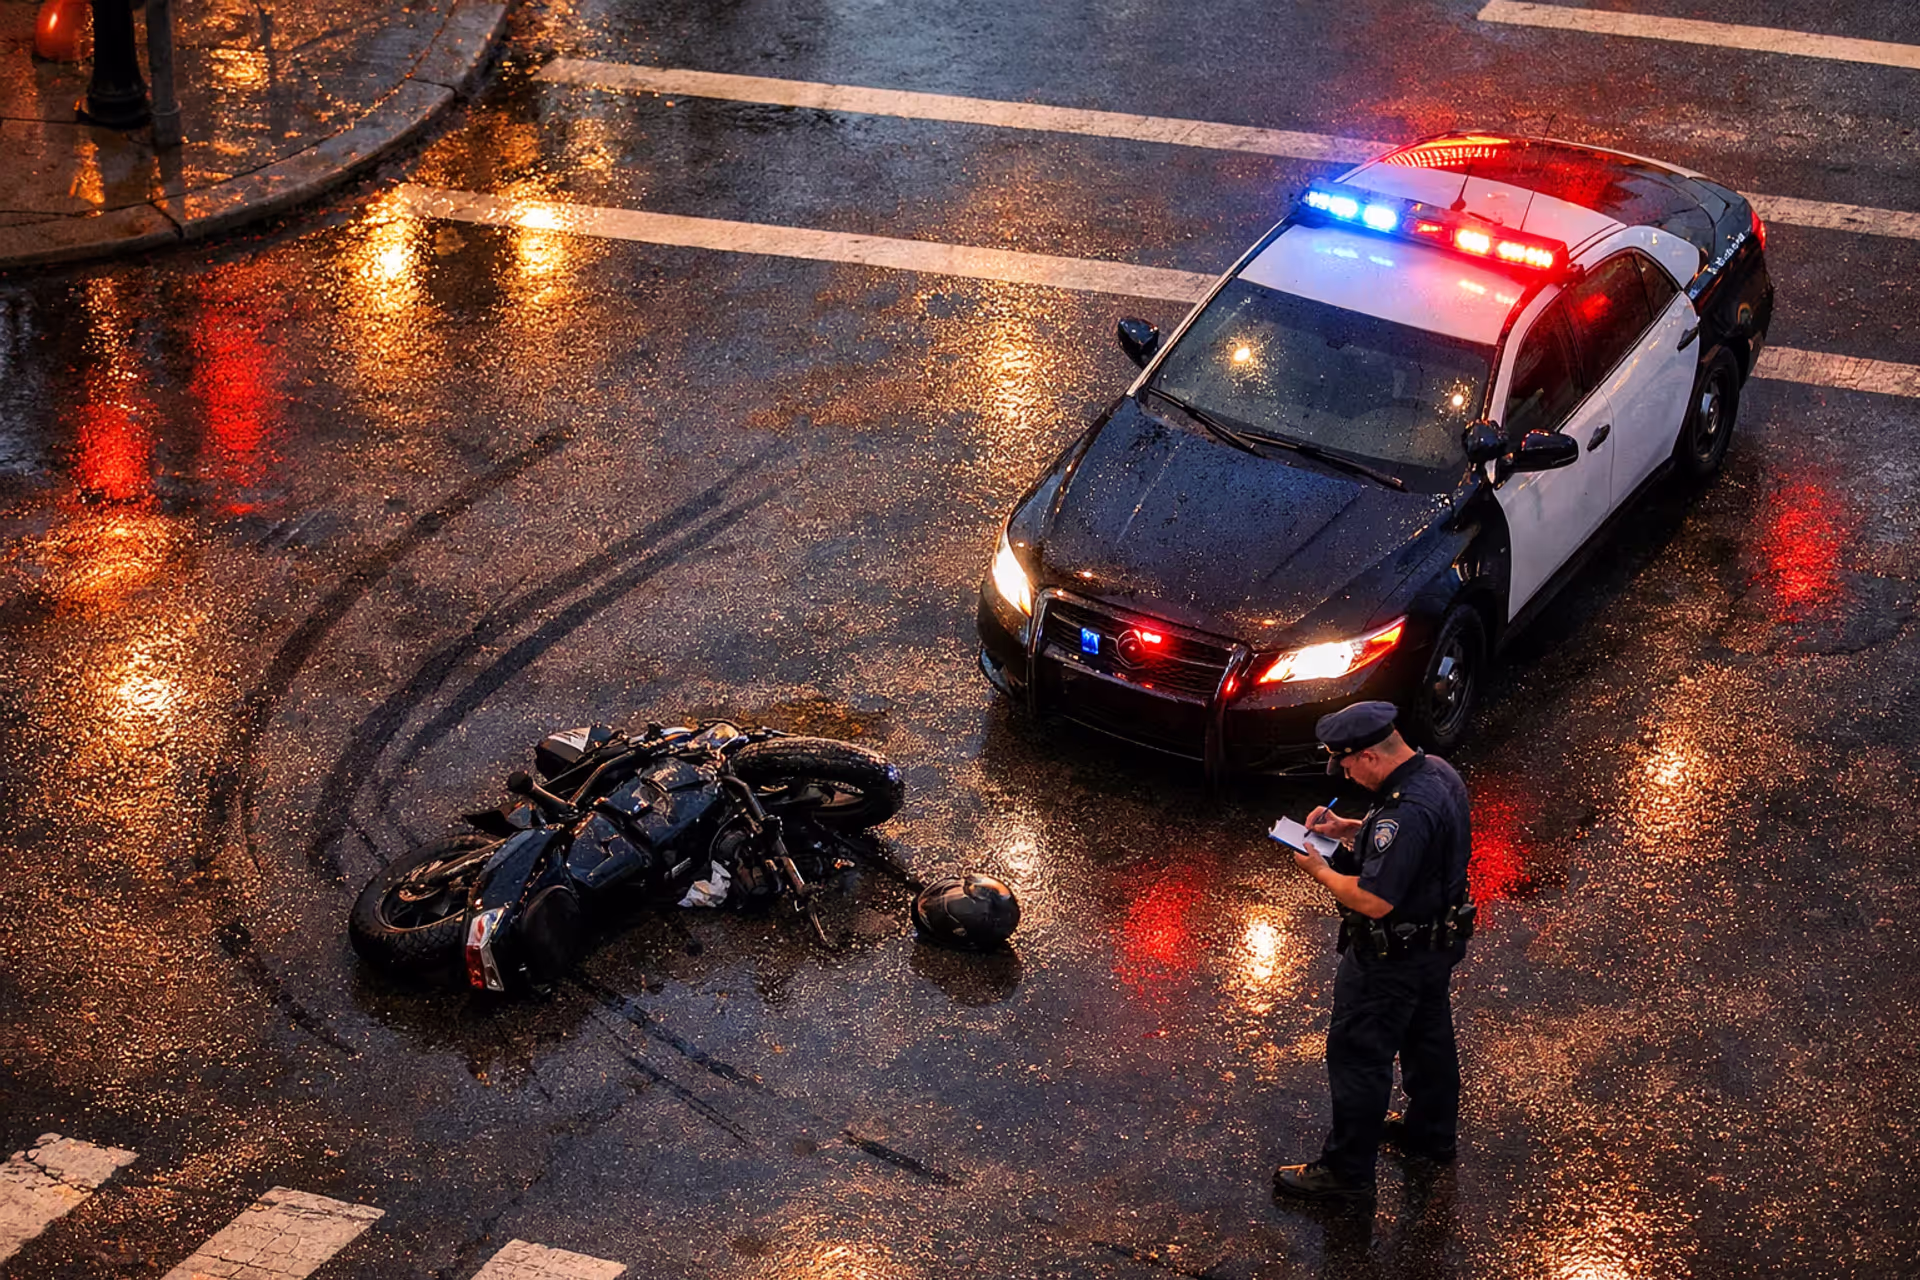
Timing delays represent the most common error. Waiting even a few hours allows vehicles to be moved, debris to be cleared, and road conditions to change. Insurance adjusters question photos taken after the scene has been altered. Take photos immediately, before police direct you to move vehicles or before tow trucks arrive.
Editing or filtering photos destroys their evidentiary value. Even minor adjustments—brightening, contrast enhancement, or red-eye removal—alter original data and create opportunities for opposing parties to challenge authenticity. Courts may exclude edited photos entirely.
Incomplete documentation leaves gaps that insurance companies exploit. Photographing only your motorcycle's damage while ignoring the other vehicle, road conditions, or traffic controls allows adjusters to construct alternative narratives. Comprehensive documentation from multiple angles prevents these gaps.
Missing or corrupted metadata undermines photo credibility. Taking screenshots of photos instead of saving original files strips EXIF data. Sharing photos through messaging apps that compress images can alter or remove metadata. Always work with and submit original files.
Privacy violations can invalidate evidence and expose you to legal liability. Photographing inside someone's home, business, or vehicle without permission may violate privacy laws. Stick to publicly visible areas and damage directly related to the crash.
Trespassing to capture photos creates legal problems that outweigh evidentiary benefits. Don't enter private property, cross police barriers, or access restricted areas to take pictures. Courts may exclude evidence obtained through illegal means, and you could face criminal charges.
Posting accident photos on social media before your claim resolves gives insurance companies ammunition to deny or reduce your settlement. Adjusters monitor claimants' social media for evidence contradicting injury claims. A photo of you riding another motorcycle two days after claiming debilitating injuries tanks your credibility.
Failing to photograph injuries because they seem minor proves costly when those injuries worsen. Soft tissue damage, concussions, and internal injuries often don't manifest immediately. Document everything, even if you feel fine initially.
When to Hire a Professional Accident Reconstruction Photographer
Most motorcycle accident claims don't require professional photography—your smartphone photos suffice. But certain scenarios justify the $500-$2,000 cost of hiring an expert.
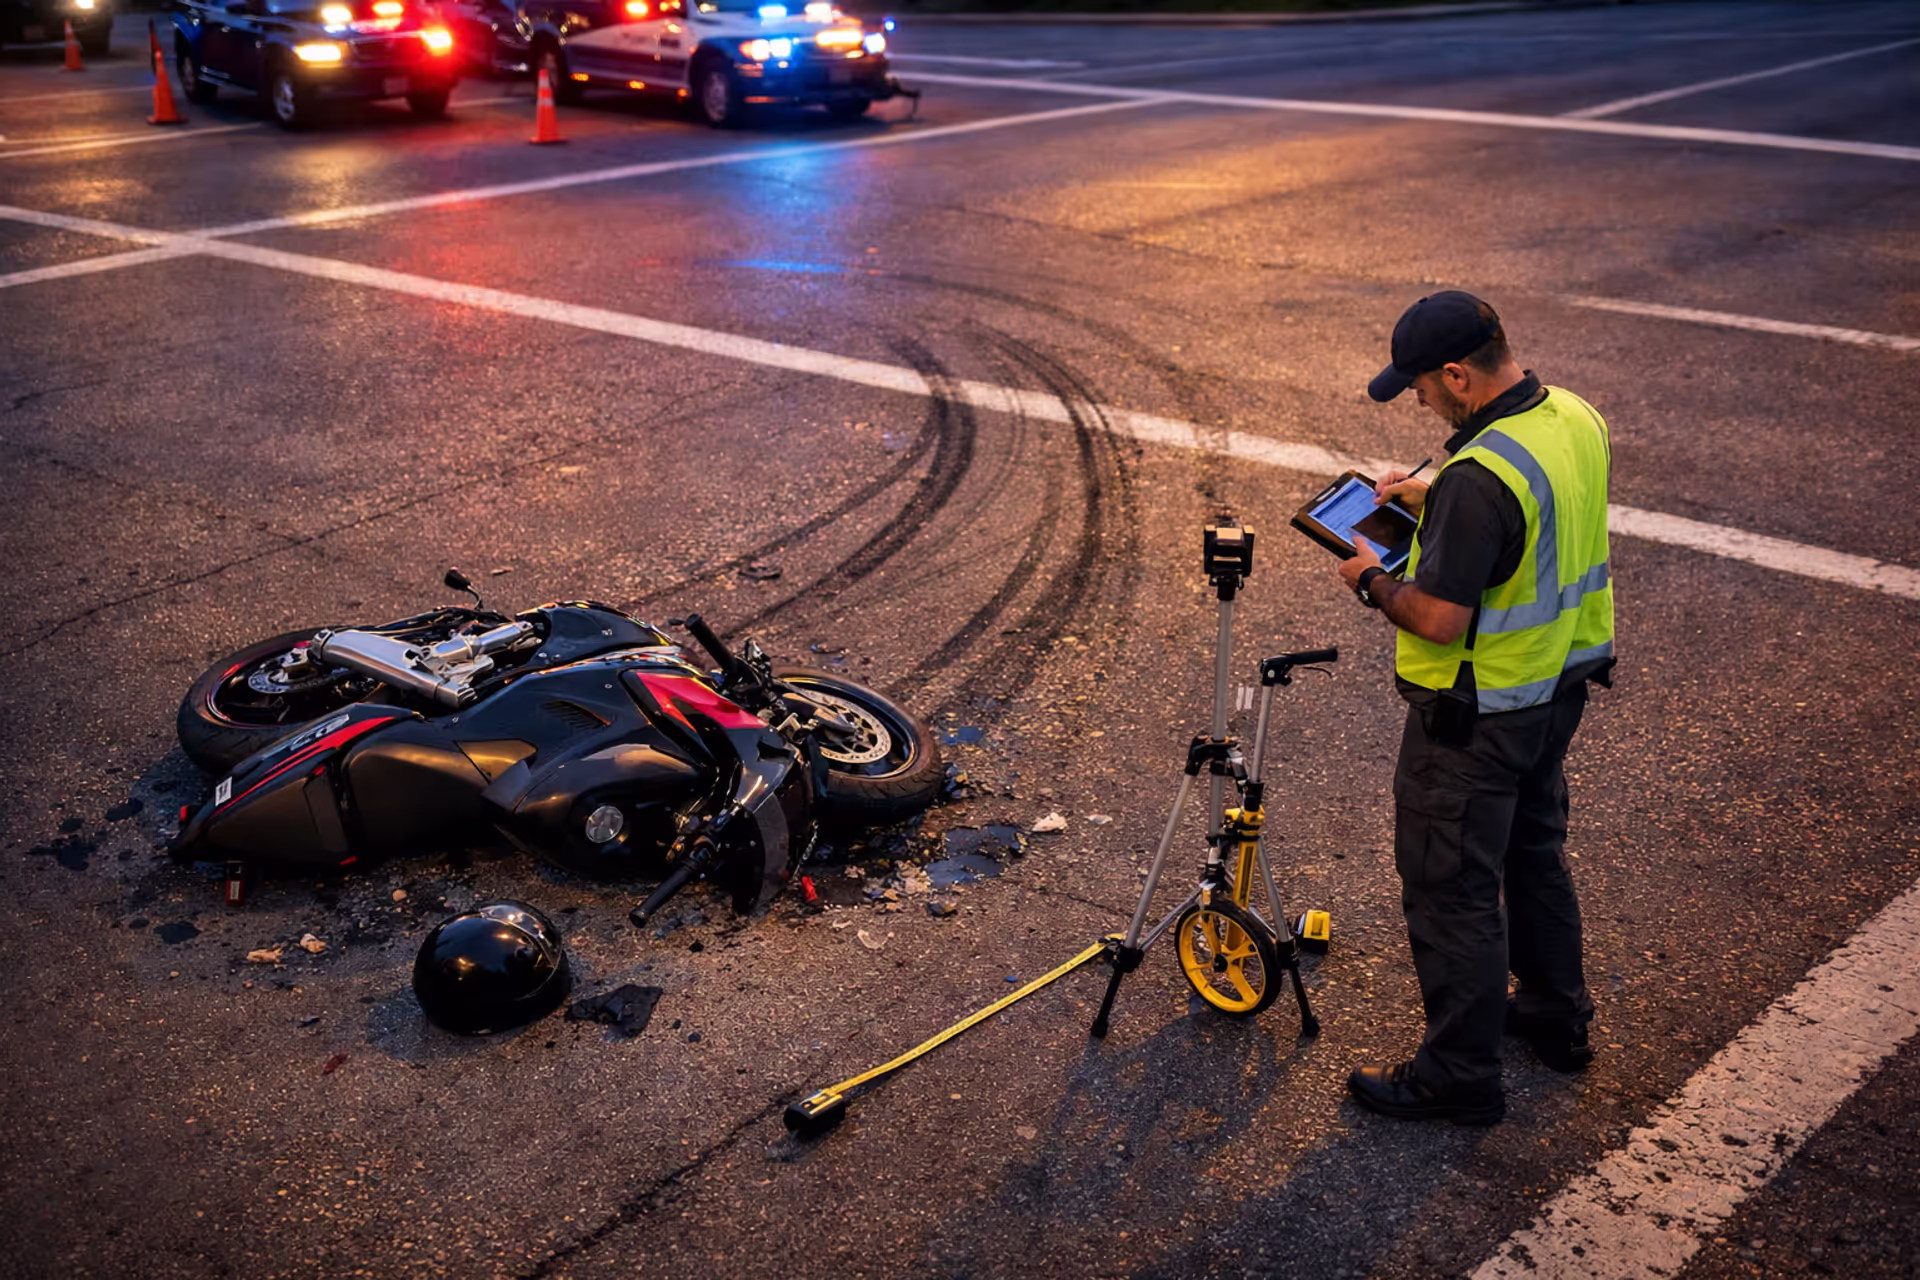
Complex crash dynamics involving multiple vehicles, high speeds, or unusual road conditions benefit from professional documentation. Accident reconstruction photographers use specialized equipment (laser measuring tools, drone cameras, 360-degree cameras) that capture precise spatial relationships and measurements courts accept as scientific evidence.
Disputed liability cases where the other driver's account contradicts yours significantly may require expert photography. Professionals document subtle details—tire marks, crush patterns, debris scatter—that establish fault definitively. Their credentials and experience lend weight to photographic evidence.
Serious injury claims involving permanent disability, disfigurement, or six-figure medical expenses warrant professional documentation. The potential settlement increase often exceeds the photographer's fee many times over. Expert photos of injury mechanisms and damage severity support higher pain and suffering awards.
Cases heading toward litigation rather than settlement benefit from professional evidence collection. Testifying expert photographers can explain technical aspects of their images to juries and withstand cross-examination about their methods. Their photos meet strict court admissibility standards.
Work with your attorney to determine whether professional photography makes financial sense. They'll calculate the cost-benefit ratio based on your specific circumstances, potential recovery amount, and evidence strength.
Many personal injury attorneys maintain relationships with accident reconstruction professionals and can arrange services quickly. If you hire an attorney within days of your crash, they may send a photographer to document evidence before it disappears.
Comparison of Photo Evidence Requirements: Minor vs. Major Motorcycle Accident Claims
| Documentation Element | Fender-Bender/Minor Injury | Serious Injury/Totaled Bike | Why It Matters |
| Vehicle position photos | 2-3 angles showing final positions | 8-12 angles including aerial view if possible | Complex crashes require precise spatial documentation to establish fault |
| Damage close-ups | 3-5 photos of primary impact areas | 15-25 photos of every scratch, dent, and broken component | Higher claim values face greater scrutiny; comprehensive documentation prevents disputes |
| Road conditions | 2-3 shots of immediate crash area | 10-15 photos covering 50-foot radius in all directions | Serious crashes often involve contributing factors requiring detailed environmental evidence |
| Injury documentation | Initial photos plus 1-week follow-up | Daily photos for 2 weeks, then weekly until healed | Significant injury claims need progression documentation to support pain and suffering damages |
| Traffic controls | 1-2 photos of relevant signs/signals | 5-8 photos showing all visible controls and sight lines | Disputed liability in major crashes requires proving traffic law compliance from all angles |
| Protective gear | 1-2 photos if visibly damaged | Detailed photos of every piece of gear showing wear patterns | Severe crashes face comparative negligence arguments; gear condition proves you took reasonable precautions |
| Time investment | 10-15 minutes at scene | 30-45 minutes at scene plus follow-up documentation | Higher stakes justify more thorough evidence collection; rushed documentation creates claim vulnerabilities |
Expert Perspective on Photo Evidence Impact
I've reviewed thousands of motorcycle accident claims from both sides. The single most common reason riders receive lowball settlement offers is inadequate photographic evidence. Insurance companies know most claimants take a few quick phone shots and call it done. When I see a client who's documented every angle, tracked injury progression, and preserved original files with metadata intact, I know we're negotiating from a position of strength. Those cases settle for 40-60% more on average because adjusters can't poke holes in the evidence. The 20 minutes you spend photographing thoroughly at the scene is worth thousands of dollars in your settlement
— Ryan Whitlock
Frequently Asked Questions
Protecting Your Rights Through Proper Documentation
The difference between a denied claim and a full settlement often comes down to the photographic evidence you collect in those first critical minutes after a crash. Insurance companies base their decisions on verifiable facts, and photos provide the most compelling proof of what happened, who was at fault, and how severely you were injured.
Your documentation strategy should be systematic and comprehensive. Follow the checklist approach: wide establishing shots, then progressively closer details of vehicles, road conditions, and injuries. Include scale references, capture multiple angles, and preserve original files without editing. Back up everything immediately and organize files logically for submission.
Remember that photos serve multiple purposes throughout your claim. Initial scene documentation establishes liability. Injury progression photos support damages calculations. Gear and vehicle damage images justify repair costs and diminished value claims. Each category of photos plays a specific role in building your case.
The technical requirements aren't complicated—modern smartphones handle the heavy lifting. Your job is ensuring you capture the right subjects from useful angles and preserve the evidence properly. Avoid the common mistakes that invalidate otherwise strong documentation: editing files, delaying photography, posting on social media, or documenting incompletely.
For most motorcycle accident claims, your own thorough photography provides sufficient evidence. But recognize when professional help makes sense—complex crashes, disputed liability, serious injuries, or cases heading toward litigation may justify hiring an accident reconstruction photographer. Consult with an experienced motorcycle accident attorney early to assess whether your case requires expert documentation.
The 30 minutes you invest in comprehensive crash scene photography can mean the difference between a $10,000 nuisance settlement and a $100,000 fair recovery. Treat evidence collection as seriously as you treat your medical care—both are essential to your physical and financial recovery after a motorcycle accident.
Related Stories
Read more
Read more

The content on this website is provided for general informational and educational purposes only. It is intended to offer insights and guidance on motorcycle accident insurance claims, settlement processes, liability issues, coverage limits, medical compensation, and related insurance matters, and should not be considered legal or financial advice.
All information, articles, and materials presented on this website are for general informational purposes only. Insurance policies, liability standards, settlement practices, and state regulations may vary by jurisdiction and insurer. The outcome of a motorcycle accident claim depends on the specific facts of the accident, available evidence, policy language, and applicable law.
This website is not responsible for any errors or omissions in the content, or for actions taken based on the information provided. Users are strongly encouraged to consult with a qualified attorney or licensed insurance professional regarding their specific motorcycle accident claim before making decisions about settlements, negotiations, or coverage disputes.